
HubSpot Meetings
Connect a HubSpot scheduling page so buyers can pick a real opening, and HubSpot creates the contact and the meeting.
If your team schedules meetings with HubSpot, you can connect a scheduling page to Top Provider. Buyers then see your real openings and book straight into HubSpot. HubSpot creates the contact and the meeting, and sends the invite.
How It Works
You pick one HubSpot scheduling page and one of its meeting durations. We read the page's live availability, and buyers see the same openings that the page shows. When a buyer picks a time, HubSpot books the meeting the same way it does from your own scheduling page.
HubSpot then does what it always does for a booking. It creates or updates the contact and puts the meeting on the organizer's calendar. It also sends the buyer the confirmation and the invite. We fill in the buyer's first name, last name, email, and phone number, and nothing else on the form.
If the buyer cancels or reschedules through Top Provider, we cancel the meeting in HubSpot. A reschedule books the new time as a new meeting. If a meeting is deleted in HubSpot, or its outcome is set to Canceled, we record the cancellation within a few minutes.
Availability follows the rules on the scheduling page. These are the organizers' hours and calendars, the duration you picked, the buffer between meetings, and the booking window. We read those settings and never change them. For a round robin page, a time is offered when at least one organizer is free.
While a HubSpot meeting covers a lead order, buyers always book through it. If HubSpot cannot be reached for a moment, buyers see no openings for that day. If a booking fails, the buyer's request is saved as a standard meeting request, and our team coordinates the time. Your booking link takes over only when no connected calendar covers the lead order.
What You Need
- A HubSpot Professional plan or higher. HubSpot lets other apps read scheduling pages only on Professional accounts. A Starter plan includes scheduling pages, but HubSpot leaves out that permission, and the connection is not kept. See HubSpot's pricing page.
- A one-on-one or round robin scheduling page. Buyers book one person at a time, so a group page cannot be connected. Scheduling pages are under Sales, then Meetings Scheduler, in HubSpot.
- A booking form that asks only for name, email, and phone. HubSpot refuses a booking that leaves a required question empty. It also refuses one when a CAPTCHA or data privacy consent is on. In HubSpot, open the scheduling page, then Scheduling, then Form. Clear Required on every other question. Then turn off CAPTCHA (spam prevention) and Data privacy and consent.
- Free email domains allowed. If Block free email domains is on in the same tab, HubSpot refuses buyers with a free email address, such as Gmail. Their request is saved as a standard meeting request.
- A HubSpot Super Admin, or a user with App Marketplace access. Only these users can approve the app and its permissions for the portal. If your team already sends leads to HubSpot through Top Provider, the app is installed, and you approve two more permissions on it.
If your team uses the scheduling page for other bookings that need more questions, clone the page in HubSpot. Remove the extra questions from the copy, and connect the copy. A clear name, such as "Top Provider Intro Call", shows on the calendar.
Connect in the Seller Portal
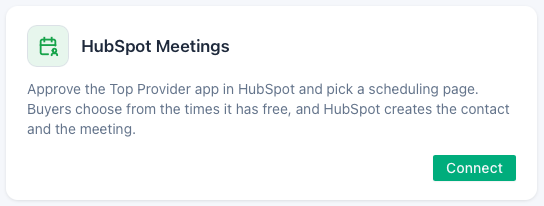 The HubSpot Meetings card on the Meetings page. Select Connect.
Start the Connection
Open Meetings in the Seller Portal. On the HubSpot Meetings card, select Connect. Then select Approve in HubSpot or Sign in with HubSpot. The first appears when you already send leads to HubSpot. If that app already has the meetings permission, the connection is made without this step.
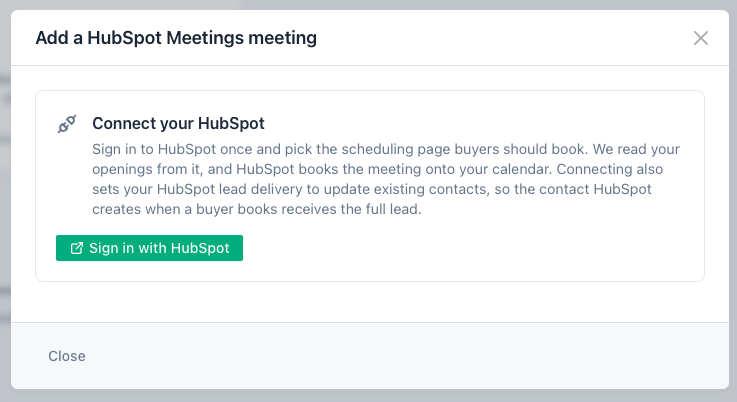 The connect window when you do not yet send leads to HubSpot. Sign in with HubSpot opens HubSpot's own page.
Approve the App
Sign in to HubSpot, choose the portal, and approve the Top Provider app. HubSpot then sends you back to the Seller Portal. The connect link is valid for one hour.
HubSpot shows the two permissions that booking needs as optional, and you can clear them. Make sure that both stay selected: View properties and other details about contacts and Read metadata and booking availability information for meeting links.
Add the Meeting
The Add meeting window opens by itself. Choose the Scheduling page that buyers book. If the page offers more than one duration, choose the Meeting duration. The timezone comes from your HubSpot portal.
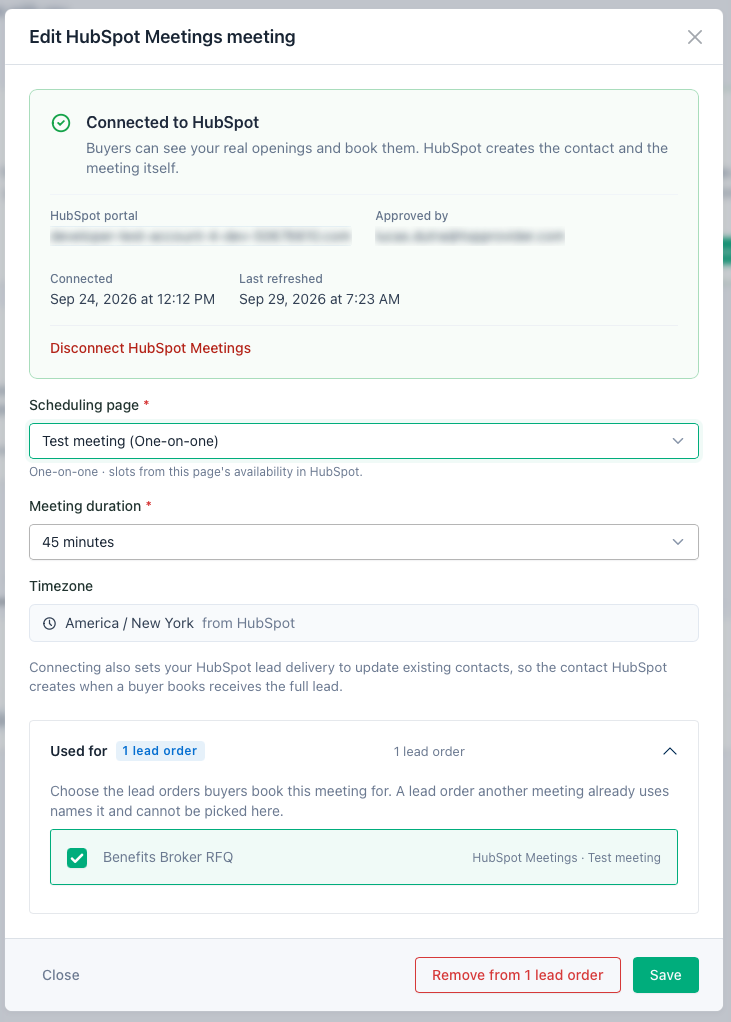 The connection details, the scheduling page and duration pickers, the timezone from HubSpot, then the lead orders it covers.
Choose Which Lead Orders It Covers
Select the lead orders that this page covers. A lead order in another calendar meeting is greyed out. Remove it from that meeting first. A booking link does not block it. Select Save.
If the Connection Is Not Successful
When the connection does not work, the Seller Portal names one of these results:
| Result | What happened | What to do |
|---|---|---|
| Connected, with nothing to book | The connection works, but your HubSpot holds no scheduling page. | Create a scheduling page in HubSpot. Then open Add meeting on the Meetings page. |
| HubSpot did not grant every permission | A permission was cleared, or your HubSpot plan is lower than Professional. The connection was not kept. | Turn on the permissions in HubSpot. Then connect again. If HubSpot still leaves one out, the plan is the cause. |
| HubSpot needs one more permission | Your lead delivery uses the Top Provider app, but the app does not have the meetings permissions yet. | Select Approve in HubSpot and approve the added permissions. You can also turn them on in HubSpot, then select Connect again. |
| This link has expired | The connect link was more than an hour old. Nothing changed. | Start again from the Meetings page. |
| Connection was not completed | You closed or declined the HubSpot prompt. Nothing changed. | Select Connect again and approve the app. |
| Already connected elsewhere | That HubSpot portal belongs to another Top Provider account, so it was refused. | Contact Top Provider to release it, or connect a different portal. |
| Something went wrong | The connection did not complete, either at HubSpot or on our side. Nothing changed. | Try again. If it happens twice, contact Top Provider. |
Turn On the Permissions in HubSpot
If the app is already installed, a HubSpot Super Admin can turn on the meetings permissions in HubSpot settings. These switches apply to every user in the portal, admins included. See HubSpot's guide to managing app access.
- In HubSpot, select the settings icon. Then select Integrations, then Connected Apps.
- Open the Approved apps tab.
- In the Top Provider row, select Manage access in the Actions column.
- In the Admin Settings: Top Provider window, open the Data Permissions tab.
- Under Optional, turn on both permissions. To turn on both at once, select All next to Enable.
- Wait a few minutes. HubSpot does not apply a permission change immediately.
- In the Seller Portal, open Meetings and connect again.
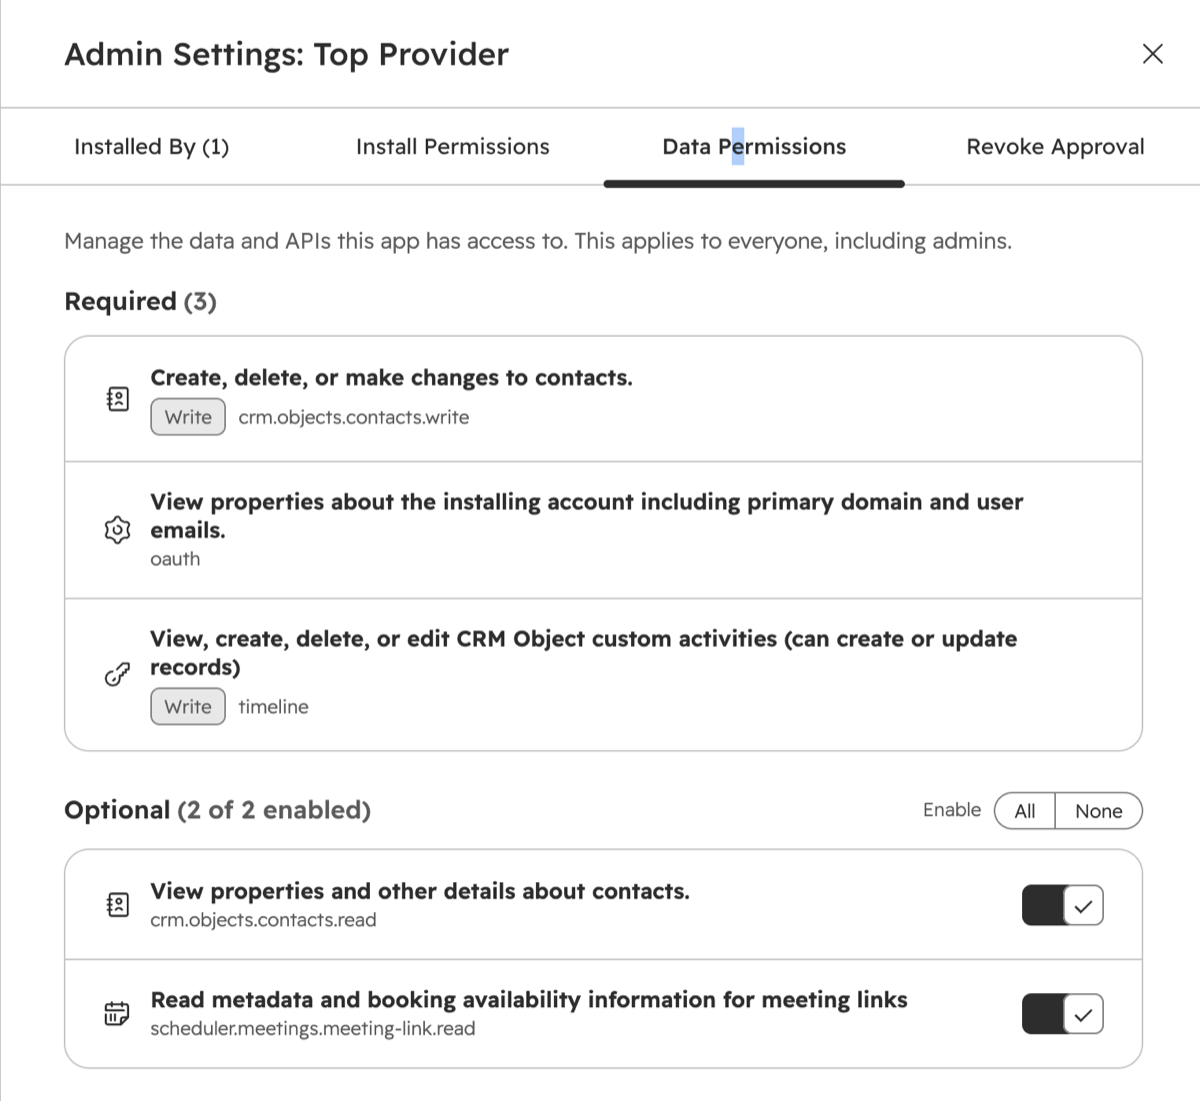 Both optional permissions turned on. The heading reads 2 of 2 enabled.
If the connection fails right after the change, HubSpot has not applied it yet. Wait a few more minutes, then connect again.
Lead Delivery and the Contact
A HubSpot booking creates the contact when the buyer books. The lead is delivered afterwards. If your HubSpot lead delivery only creates new contacts, it skips that contact, and the lead never reaches it.
To prevent this, connecting turns on Update Existing Contacts for every HubSpot lead delivery on your account. The Seller Portal tells you how many it changed. You can review the setting in each connection's advanced settings on the HubSpot delivery page.
If you do not send leads to HubSpot through Top Provider, nothing changes.
Troubleshooting
Start With a Test Booking
Every meeting has a Test button. It books exactly the way a buyer does, so it shows the openings, slot length, and timezone that buyers see. The test creates a real meeting and a real contact in HubSpot, so delete both afterwards. If the test cannot read the scheduling page, buyers cannot book it either.
Wrong or Missing Times
The cause is nearly always a HubSpot setting:
| What buyers see | The setting behind it |
|---|---|
| No times at all, ever | The organizer's calendar is not connected in HubSpot, or the scheduling page has no available hours. |
| A change in HubSpot does not show yet | We keep a copy of the availability for a few minutes. Wait, then check again. |
| Times stopped after the scheduling page was edited | The duration you picked was removed from the scheduling page. Open the meeting and pick a current duration. |
| Nothing today or tomorrow | Minimum notice time on the page. |
| Nothing beyond a few weeks | The booking window on the page. |
| Fewer openings than the calendar suggests | Buffer time on the page, or a busy slot on an organizer's calendar. |
| Openings outside working hours | The available hours on the page. |
| Times are an hour or more off | The timezone on your HubSpot portal against the timezone shown on the meeting in the Seller Portal. Change it in HubSpot under Settings, then Account Defaults. |
After you change a setting, run another test booking to confirm the fix.
Bookings Record but Nothing Lands on a Calendar
HubSpot records a booking even when the organizer's calendar is not connected. The meeting shows on the contact, but no calendar event is created and no invite goes out. The Seller Portal warns you when you pick a scheduling page in this state. Connect the organizer's calendar in HubSpot.
The Card Says Permissions Were Turned Off
A HubSpot admin can switch a permission off after you connect. The card then says that permissions were turned off, and buyers see no openings. Turn the permissions on again in HubSpot. Wait a few minutes, then open Meetings again. The card shows Connected again when HubSpot grants both permissions. If it does not, select Reconnect HubSpot and keep both permissions selected. Your saved page and lead orders stay in place.
Disconnecting
Open Meetings in the Seller Portal and select Disconnect on the HubSpot Meetings card. This takes effect straight away:
- Buyers stop seeing openings from your HubSpot scheduling pages.
- Lead orders covered by this connection fall back to their booking links.
- The meetings that you set up with HubSpot are removed. You choose the scheduling page again after you reconnect.
- Lead delivery to HubSpot is not affected. Nothing already on your HubSpot calendar changes.
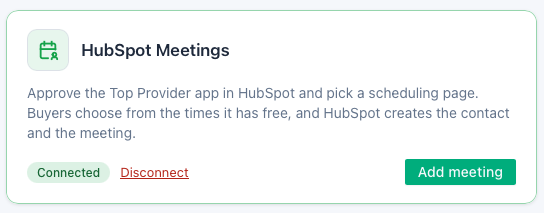 When connected, the card shows Connected, Disconnect, and Add meeting.
FAQ
Need help? Contact our support team at [email protected] if you need assistance.